EN

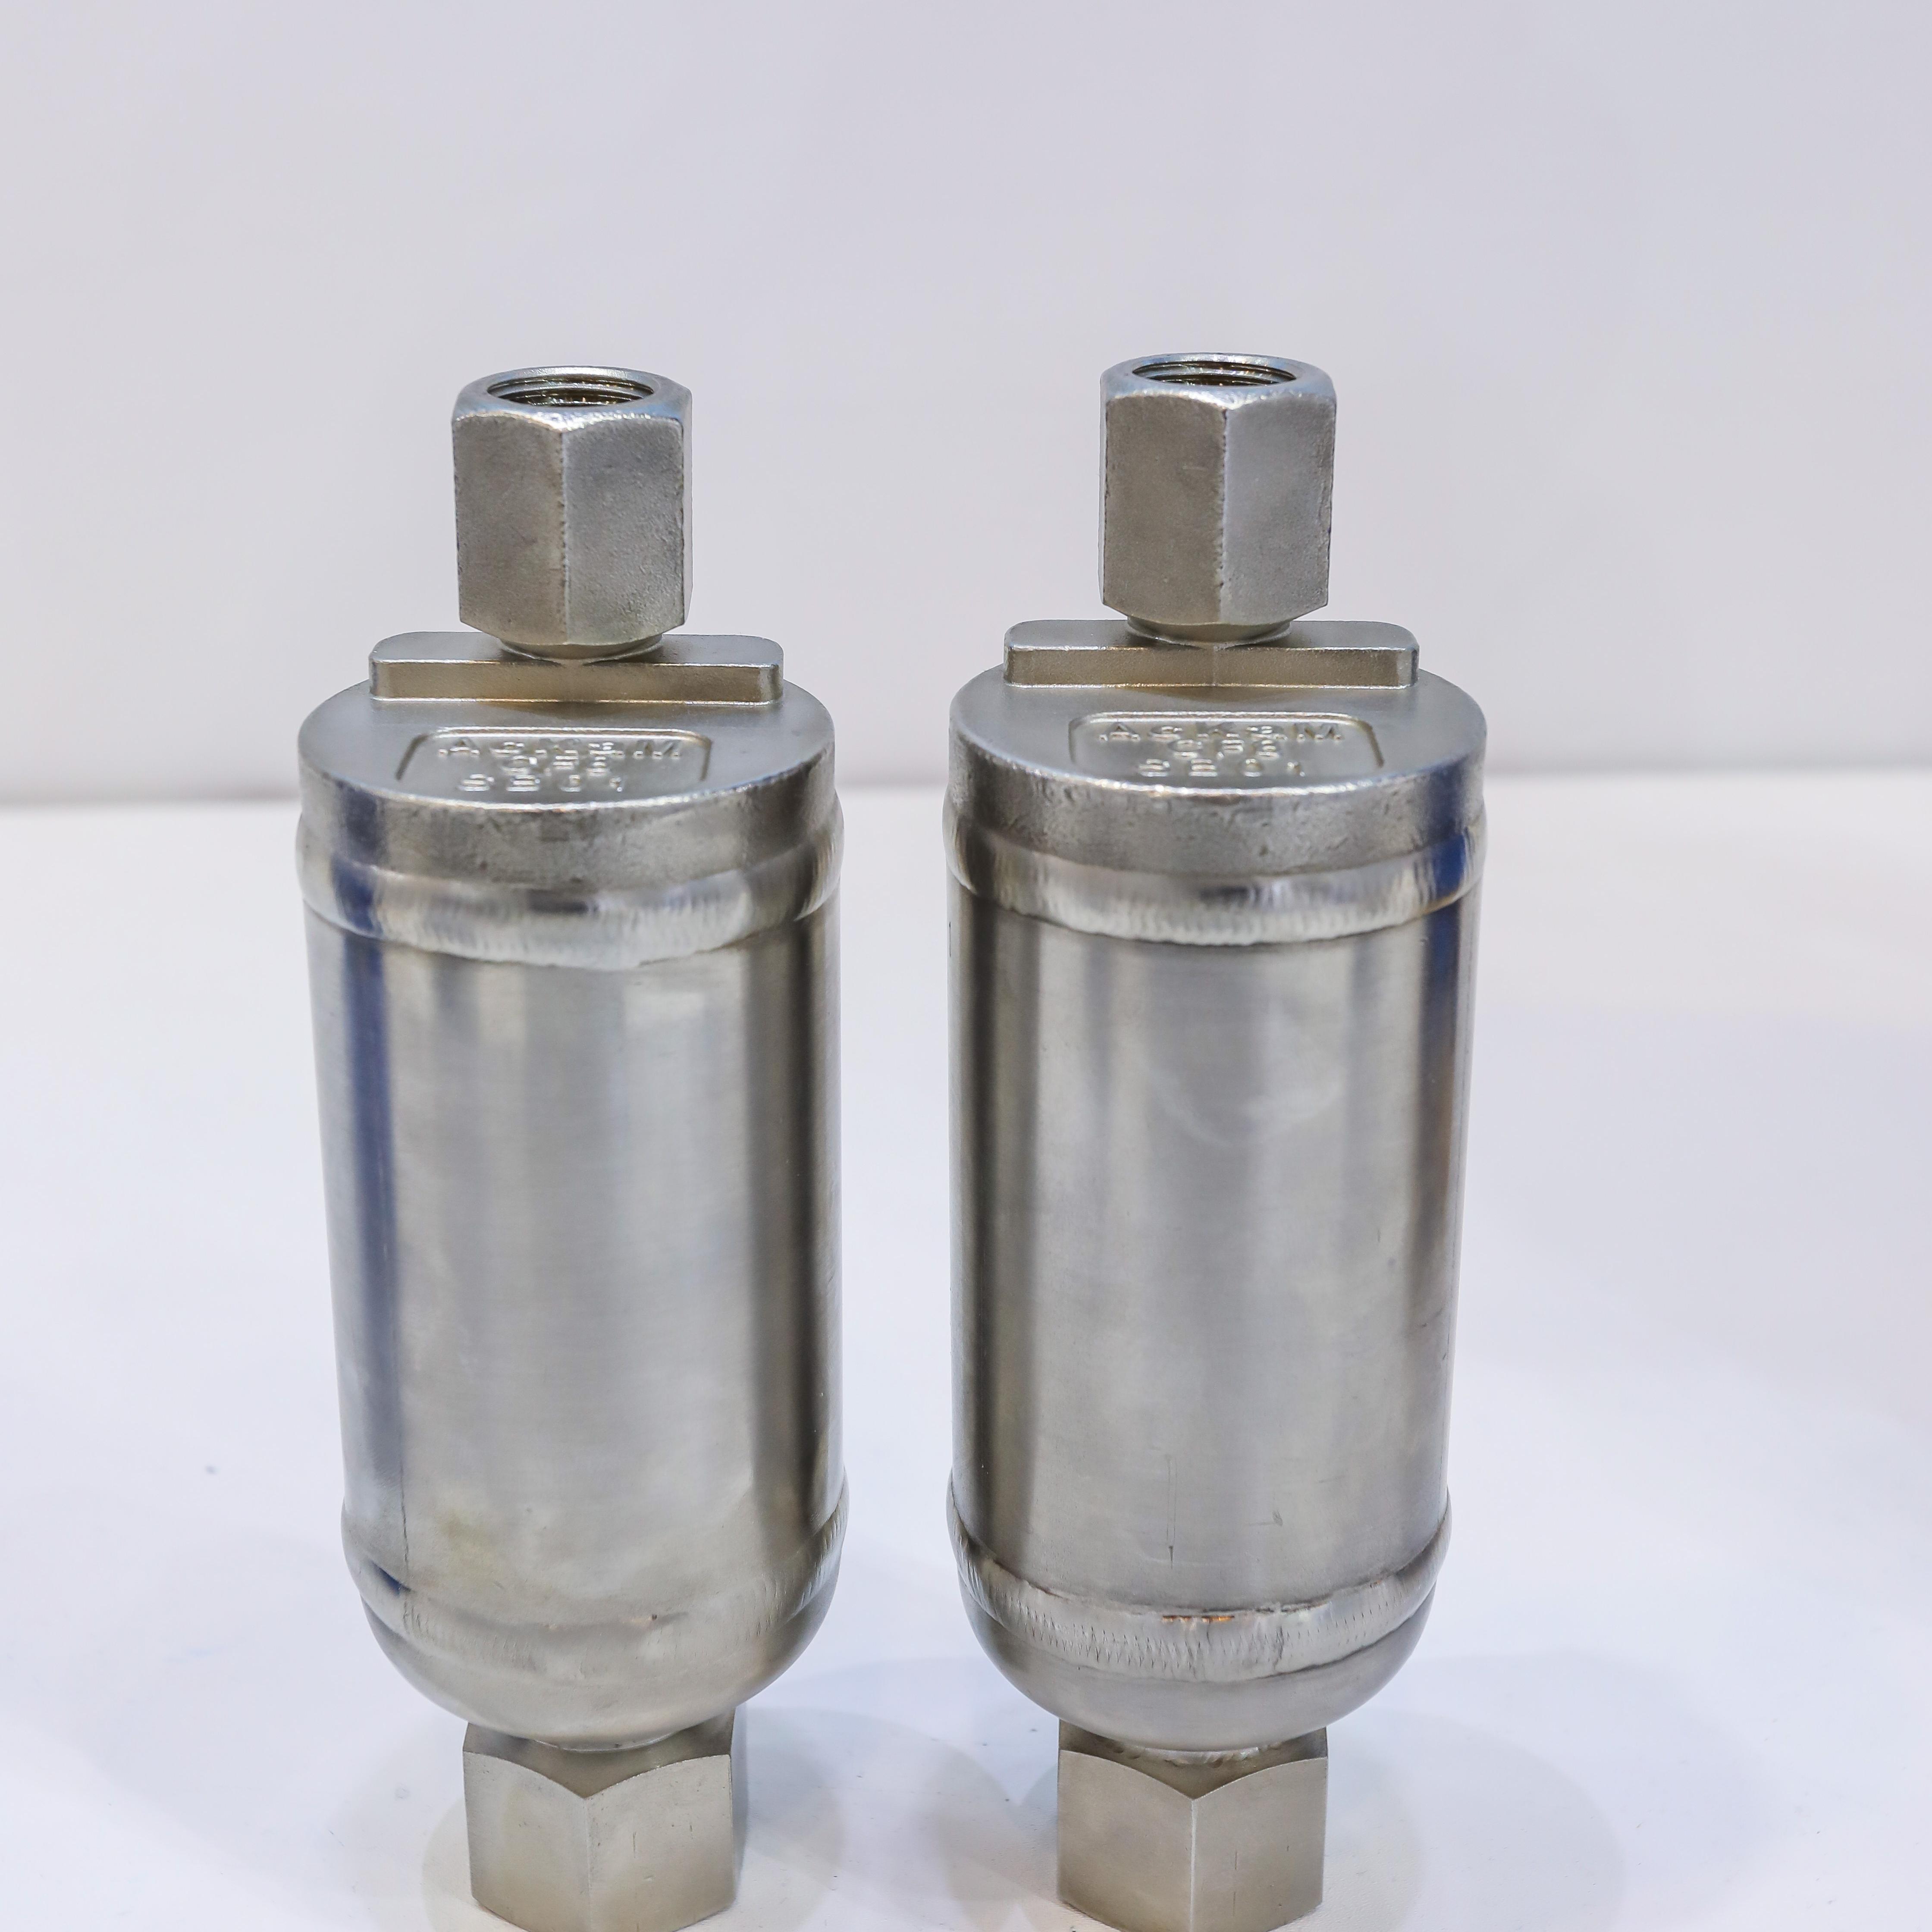
Winter operation places exceptional demands on industrial piping and equipment, and a properly functioning heat tracing system is essential to prevent freeze-ups, maintain product flow, and protect critical infrastructure. Before temperatures drop, conducting a thorough check of your heat tracing system ensures reliable performance throughout the coldest months. Many facility managers underestimate the importance of pre-winter inspections, often discovering problems only after failures disrupt production or create safety hazards. A comprehensive heat tracing system evaluation identifies vulnerabilities, confirms cable integrity, validates control settings, and verifies that all components are ready for sustained operation in harsh winter conditions.

The process of inspecting and preparing a heat tracing system for winter is not a simple checklist exercise—it requires systematic attention to electrical connections, thermal performance, insulation condition, and control logic. This article walks through the critical steps that should be part of every pre-winter heat tracing system assessment, helping you avoid costly downtime and ensure safe, efficient operation when it matters most.
Visual Inspection and Cable Assessment
Identifying Physical Damage and Deterioration
Begin your heat tracing system check with a methodical visual inspection of all exposed cables, connectors, and mounting hardware. Look for signs of physical damage such as cracks, cuts, abrasions, or crushed sections in the cable jacket. Check that the heat tracing system cable is securely fastened to the pipe using appropriate supports and clips, with no sagging or loose sections that could catch on equipment or suffer mechanical stress. Inspect power leads, junction boxes, and termination points for corrosion, water ingress, or discoloration that might indicate electrical degradation. Pay special attention to areas where the heat tracing system passes through walls, doorways, or equipment openings, as these transition points are prone to damage.
Assessing Insulation Integrity and Moisture
Water intrusion is a primary threat to any heat tracing system in winter conditions, so examine the insulation covering for wet spots, ice accumulation, or loose wrapping. Proper insulation thickness and continuity are critical for maintaining heat tracing system efficiency; missing or deteriorated insulation sections must be repaired or replaced before winter operation begins. Test the heat tracing system insulation visually for gaps, crushing, or separation from the cable surface. Ensure that vapor barriers and jacketing are intact and provide complete coverage. If moisture has penetrated the insulation, the heat tracing system efficiency drops significantly and electrical safety may be compromised.
Electrical Performance and Connection Verification
Testing Circuit Continuity and Resistance
With the power supply isolated, use a multimeter to verify electrical continuity along the entire length of your heat tracing system. Measure resistance of the heating cable to confirm it falls within manufacturer specifications; abnormal resistance values indicate cable defects or internal breaks. Check all splice connections, terminations, and end seals on the heat tracing system for proper conductor contact and secure mechanical attachment. Corroded or loose connections increase electrical resistance, reduce heat output, and create fire hazards. Document baseline resistance measurements so you can compare future readings to detect degradation trends in your heat tracing system.
Validating Power Supply and Control Circuitry
Confirm that the power supply feeding your heat tracing system matches the design voltage and amperage rating of the heating cable. Check circuit breakers, fuses, and thermal switches for proper sizing and operation; an undersized or faulty breaker prevents the heat tracing system from delivering full power when needed. Inspect the control thermostat or temperature controller to ensure it is clean, properly calibrated, and mounted in a location that accurately reflects pipe temperature. Test the control logic by raising the setpoint slightly and confirming the heat tracing system activates as expected. Verify that safety interlocks, disconnect switches, and emergency shutdowns function correctly so your heat tracing system can be safely disabled in case of malfunction.
Functional Testing and Performance Validation
Running Activation and Temperature Response Tests
With power restored and safety protocols in place, activate the heat tracing system and allow it to operate for several minutes while monitoring surface temperature along the cable run. Using an infrared thermometer or thermal imaging camera, verify that the heat tracing system reaches the expected temperature range and that heat distribution is uniform across the pipe section. Uneven heating patterns suggest internal cable defects or poor thermal contact. Check that the thermostat properly cycles the heat tracing system on and off as the temperature varies; continuous operation or failure to cycle indicates control system problems. Allow the heat tracing system to heat a representative section of pipe, noting the time required to reach setpoint temperature and confirming that the pipe surface temperature rises above the freeze point.
Stress Testing and Safety Margin Confirmation
Extended operation of your heat tracing system during the test phase helps verify that all electrical connections remain stable under thermal stress and that insulation does not degrade under continuous duty. Monitor the heat tracing system supply conductors, junction boxes, and terminations for excessive heat or unusual odors that might indicate resistance hot spots. Confirm that the surrounding pipe insulation does not show scorching or material breakdown, which would suggest improper heat tracing system spacing or inadequate thermal design. Verify that the heat tracing system maintains stable operation over at least a 30-minute test period, demonstrating reliability for sustained winter duty. Document all observations and any corrective actions taken during the heat tracing system test so you have a record of system condition and performance baseline for future comparisons.
Documentation and Maintenance Planning
Recording Inspection Findings and Creating Service Records
Maintain detailed records of each heat tracing system inspection, including dates, visual observations, electrical measurements, test results, and any repairs or replacements performed. Document the location of each heat tracing system circuit, its design setpoint, expected operating range, and any known vulnerabilities or problem areas. Taking photographs of the heat tracing system installation and condition provides visual reference for future inspections and helps technicians identify changes or degradation over time. Store these records in an accessible format that can be reviewed by maintenance staff and referenced during troubleshooting or emergency response.
Scheduling Regular Monitoring Throughout Winter
Pre-winter inspection is the foundation, but your heat tracing system requires ongoing monitoring during the heating season to catch developing problems before they cause failures. Schedule periodic visual checks every two to four weeks to look for new damage, corrosion, or insulation deterioration. During extreme cold events, verify that the heat tracing system is maintaining adequate pipe temperature and that no freeze-ups are occurring. Maintain a log of any alarms, manual overrides, or unusual operating conditions involving the heat tracing system, as these events may signal emerging issues. If you identify corrective measures needed during your heat tracing system inspection, prioritize repairs or replacements before winter operation actually begins.
FAQ
What is the best way to test a heat tracing system before winter?
Begin with visual inspection of cable, insulation, and connections, then measure electrical resistance with power isolated. Once safety checks confirm the heat tracing system is sound, restore power and activate the system, monitoring surface temperature with an infrared thermometer to verify uniform heating and proper thermostat response. Run the heat tracing system continuously for 30 minutes to confirm stable operation under thermal stress. Record all measurements and observations for future reference.
How often should a heat tracing system be inspected during winter?
Conduct a comprehensive heat tracing system inspection before winter operation begins, then schedule visual checks every two to four weeks throughout the heating season. During extreme cold events, verify the heat tracing system is maintaining pipe temperature. Document any alarms, manual interventions, or unusual operating conditions so you can address emerging problems promptly and keep your heat tracing system reliable.
What are common reasons a heat tracing system fails in winter?
Water intrusion and moisture damage to the insulation is a leading cause of heat tracing system failure, reducing efficiency and creating electrical hazards. Loose or corroded electrical connections prevent the heat tracing system from delivering full power. Inadequate insulation thickness or coverage limits heat retention. Undersized or faulty control thermostats prevent the heat tracing system from activating when needed. Mechanical damage during installation or from weather exposure can fracture the heating cable, breaking the electrical circuit of the heat tracing system.